
Kitchen Reno: Prepping and Priming
Sunday, March 4, 2012
We're one month into our kitchen renovation.
On the one hand, I can't believe how far we've come in just a few short weeks. On the other hand, I look at how far we still have to go, and can't believe we're already a month into it. I originally had the idea that we could be completely done with everything by the end of March (so, I basically gave ourselves two months--seemed generous) but now I'm wondering if even that was a little too ambitious.
Just keep swimming. I'm trying to break this up into digestible chunks of work, because when I start thinking about it as a whole, it's too overwhelming. All we can do is take one thing at a time.
There were exciting parts of this week, and there were boring oh-my-gosh-let's-just-get-this-over-with parts.
On Thursday night, I started deglossing some of our base cabinet frames with TSP-PF. The guy at Home Depot tried to tell me that I wouldn't need to bother sanding after using this stuff, but after he raised my expectations, I was not all that impressed. It did do its part to clean the cabinets well, and I think it did help remove some of the glossy protective coat on the cabinets, but I didn't feel comfortable just priming from there. We want this paint job to be as durable as possible, so we decided to follow all the info I've been reading and sand, even though it's a giant pain in the keister.
So, Friday night was some sanding. We used the palm sander and 150 grit paper. Now THIS seemed to do a good job. It removed the finish in some parts, and in the places where it didn't, it did severely dull the surface. I went over everything with the sander twice, then did a good wipe down/clean up again to remove any dust.

"I just... ate a bug!"
ANYWAY.
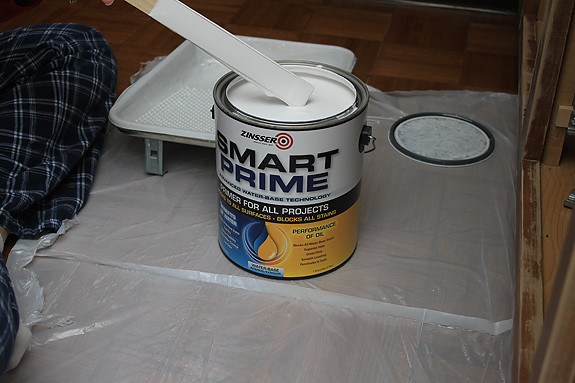
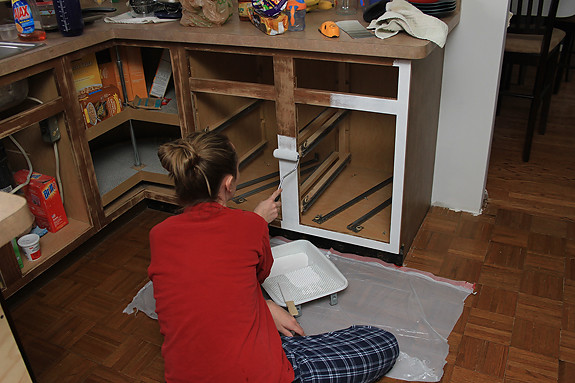
It felt really good to get some primer on those cabinets. I'm more looking forward to doing the doors since we plan to spray those, but at this point, putting white paint on those dirt-colored cabinets was extremely satisfying, no matter which method I was using. And it has already made a huge difference--just wait a minute and I'll show you. :)
First I must discuss the great paint debate of 2012. For the love of all things Sherwin Williams, I have not ever had this much trouble choosing a paint color. Back when we first bought the place, we thought we were going to paint the kitchen a goldish-yellowish-creamish color. And, while it was still in the running initially, it just didn't seem to be quite right. Then we thought we'd go with a gray color, but after staring at about 25 shades of gray, that didn't seem to fit either. Then we landed on green. And, although we are sold on green at this point, and although we *think* we have our shade picked out, I think it'll still be a split second decision this week.

During Nora's nap today, we were back to work. Michael continued prepping more cabinets in the basement while I tackled a completely lackluster job--repainting the ceiling. BLAH. I really was not looking forward to it at all, because come on... the ceiling is boring. However, I must say that I have gotten way better at it since we've moved in. Back in August, I painted Nora's ceiling and it nearly drove me to drink. It was awful. It was impossible to tell where I had painted, I applied everything unevenly, streaks were visible, my neck was killing me... I ended up painting the damn thing like three or four times and I swore I would never paint another ceiling again.
Of course, after we redid the drywall (including the ceiling!) in our family room this past fall, ceiling painting was upon me again--and I pulled out all of the stops. I Googled the "proper" way to paint a ceiling and watched YouTube tutorials. (Who knew that you were just supposed to paint in straight, overlapping lines? I had always been taught to do the damn "W.") I also armed myself with a secret weapon: PINK PAINT.
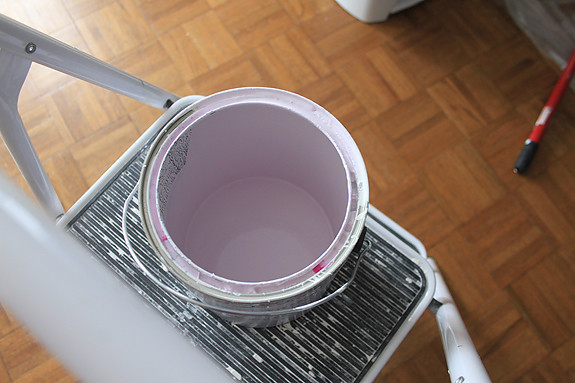
The gist is that the paint goes on pink, but dries white. Pink so you can see what you're doing and where you've painted--white so that your ceiling looks fabulous when it's done.
For good measure, I'll be doing a second coat of paint on the ceiling tomorrow, and then I'll get to move onto the walls--COLOR!! I'm pretty excited to add color. I just hope I end up liking what we choose.
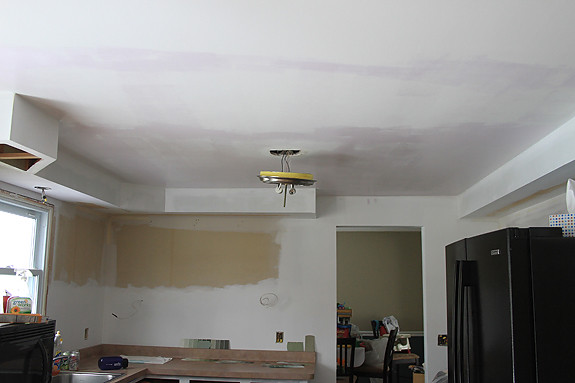
Oh, and here's what the rest of the kitchen is looking like:


The next time I update, things should be looking significantly green around here. And hopefully we'll have made some good progress on the upper cabinet frames, too. Currently, we're trying to decide if we should rehang the uppers BEFORE painting them (after priming, definitely), or after they're done. While it would be easier to paint them while they're down, I'm afraid we're going to end up damaging the paint job while getting them back up, so... you can imagine which way we're leaning. Any experience out there?
Hopefully you're not sick of my kitchen updates (and infrequency of other posts, sorry!) already? Fun times--and more progress--are ahead.


4 comments:
I for one LOVE your kitchen posts. We want to paint our cabinets white this summer, so all your experience will help me out! ;)
Do you read younghouselove.com? They're in the middle of finishing a MAJOR kitchen redo, and it might be worth your while to check them out! They blog everything they do religiously.
def not tired of these posts yet. The green with the red arrow is also my favorite color! I my vote matters at all. I hope they have cool names. I have a green called pickle green in one of my bathrooms. It's fun to tell guests awesome paint color names. For some reason I thought you would do green in your kitchen but when you said grey I thought that was an equally cool modern idea. So I was a little giddy when you changed your mind to green. Can't wait to see it all put together!
I just painted my kitchen cabinets in December. I would suggest painting the doors while they are not attached but I would put the drawers back in their places before painting them. We tried putting on a few doors before painting but we were not able to get to all of the sides due to the hinges. We love how our kitchen turned out...its a lot of work but it looks great in the end! Good Luck!
Post a Comment