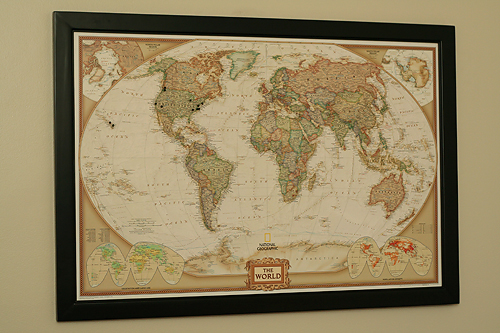
Tonight, we tackled #50 on my "101 in 1001" list: Start a newlywed map.
We've been talking about doing this for several weeks now, but as with pretty much everything I do, I had to research it to death. What size map should we get, what color map, what frame would we use, what color map tacks? We debated, we procrastinated, and then... we finally pulled the trigger.
Then, we had all of the supplies, and all we had to do was actually make the thing. And tonight, we decided it would be our after-dinner project. We are thrilled with how it turned out! I just want to keep going into our den to look at it.
Never heard of newlywed map? Well, I hadn't either, until I saw
this blog post. I thought it was such a cool idea, so I sent the link to Michael, and he agreed. We definitely wanted to make one for ourselves.
The gist is... you mount a map on foam core, frame it, and then stick tacks into all of the cities you've traveled to together. Of course, you display it on your wall. I love maps as art anyway, so I'm happy to put a map up in our house. The tacks marking our travels really just add a personal touch to it.
 Jordan
 lists out supplies and prices, but ours cost a bit more than hers for some reason. Plus, we framed it, which she didn't do in her example, so that was an added expense as well.
Here is our final supply list as well as costs:
- 36"x 24" world map (executive version) from
Mapcenter.com = $12.99
- 1 box medium map tacks (black) from
Mapcenter.com = $4.79
- 36"x 24" piece of foam core = $7.50 (with 50% off coupon at Michaels)
- 36"x 24" black frame, glass removed = $27 (on sale, 55% off at Michaels)
- Elmer's spray adhesive = $3 (with 40% off coupon at Michaels)
Total cost for this project, including shipping, tax, etc. was approximately $60-65.
Note: For the foam core, I could not find a piece that was 36"x 24". All of the ones I found were 30"x 20", which is obviously way too small. What I did find, though, was that the foam core trifold display boards (the ones with the big board in the middle with two smaller boards that fold out on the sides) had a 36"x 24" piece as the middle part, so I bought one of those and then we cut the side panels off.
For more information and instructions, be sure to visit Jordan's
detailed post.
Obviously there are a lot of options for you to make this map your own--varying types of maps and colors, different map tacks, and endless frame options. Have fun with it!
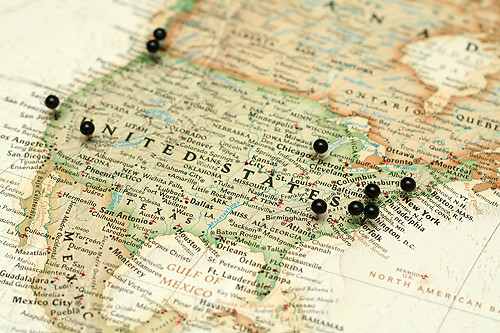
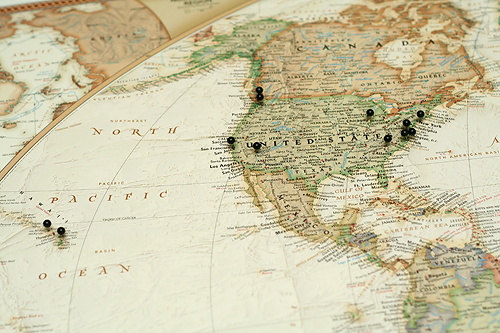
As you see from the photos I've posted, all of our map tacks are currently in the United States (at least our Hawaii ones put us outside of the continental U.S.!)... now that we have this map, we want to travel even more! Every time we go somewhere new, we'll be able to add another tack.
Also, after we have kids, we plan to use a different color map tack to mark the places we've gone as a family. I think our kids will probably get a kick out of being able to see all the places they've been. We hope to still take trips as a couple (and leave the kids at home!), so we'll keep the black tacks for marking those solo trips as well.
It's nice to think about starting this now, and having the map stick around in our family for a long, long time. So I guess it's best to not really call it a "newlywed map." I think "family travel map" is a better fit.
Go forth... travel... and start your own maps! :)
Read more...




 Posts
Posts

